Wollongong, NSW
Open 24 Hours Everyday
FOLLOW US ON
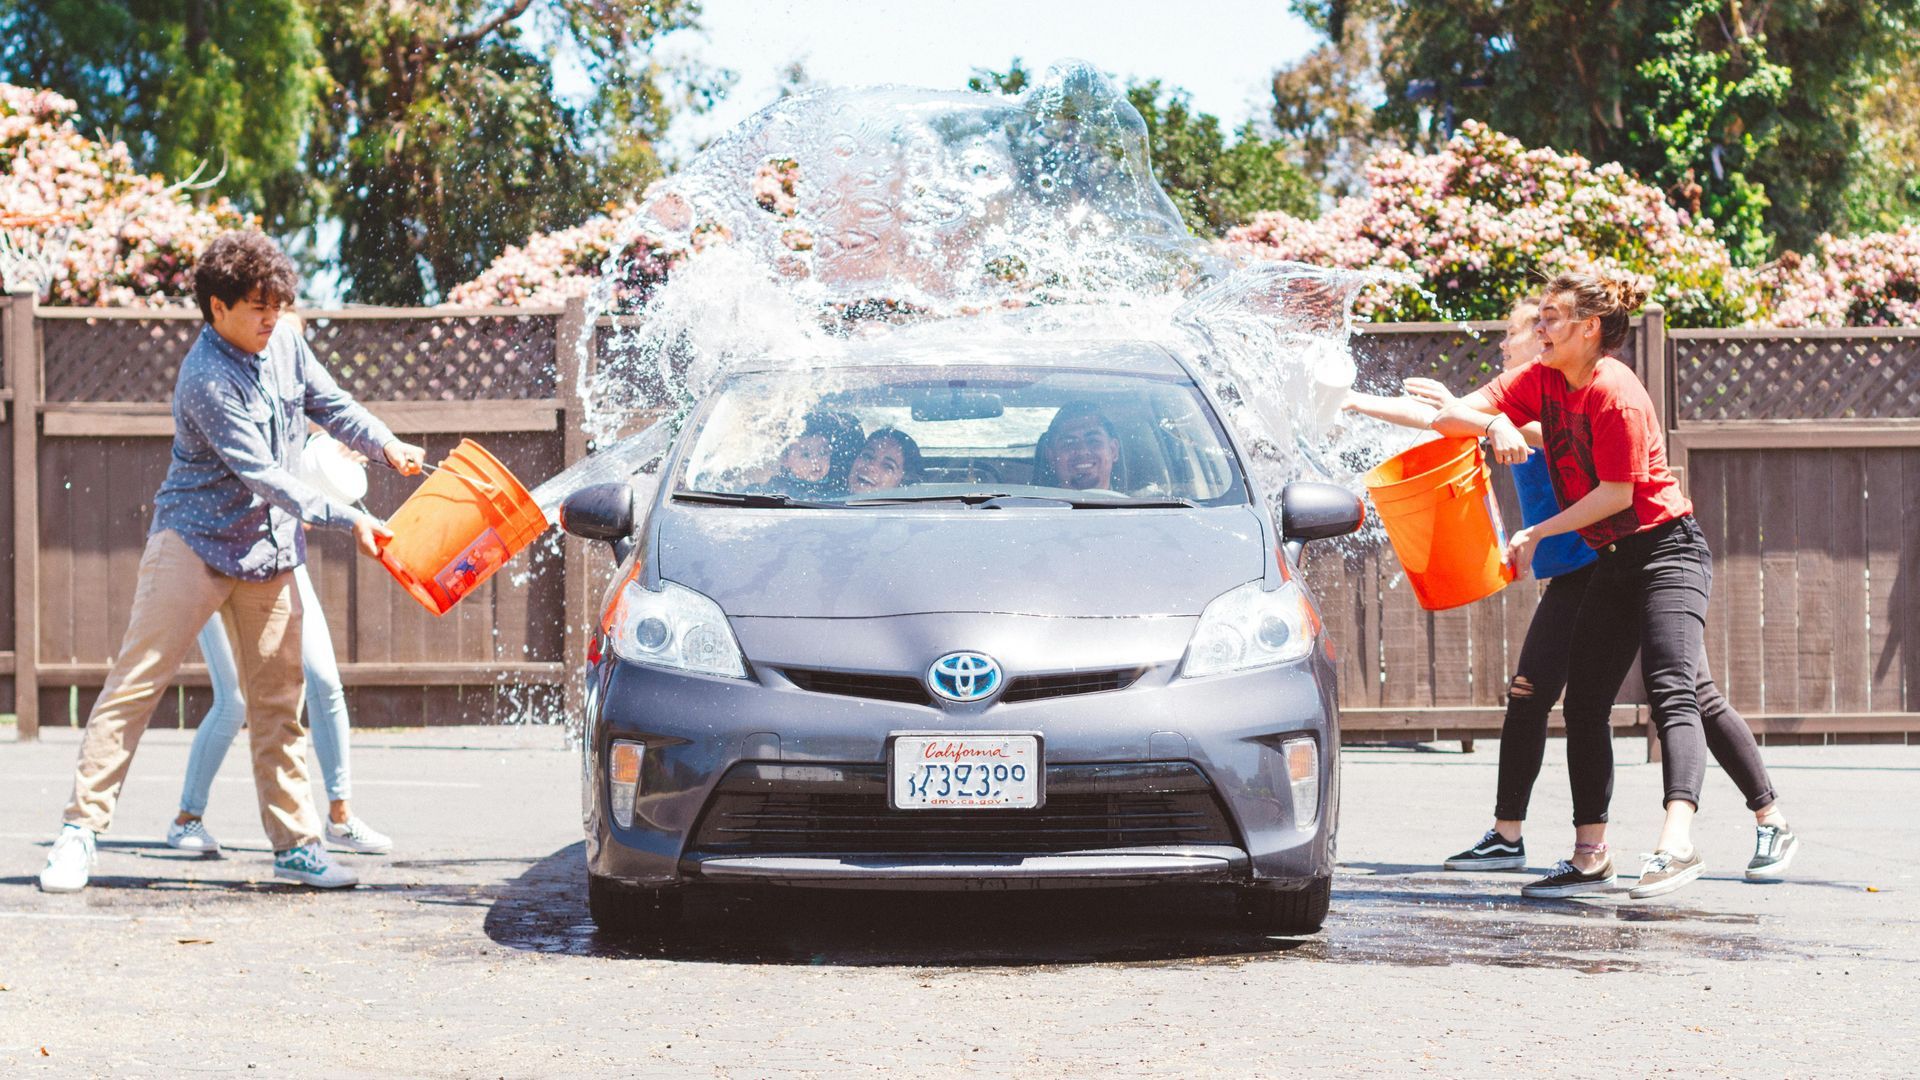
DIY Solutions for Replacing a Cracked Windshield
A cracked windshield can be more than just an eyesore; it can compromise your vehicle's safety and visibility. Fortunately, replacing a cracked windshield doesn’t always require professional intervention. With the right tools and techniques, many car owners can tackle this task themselves. DIY solutions can save you time and money while restoring the integrity of your vehicle. This guide will explore effective methods for replacing a cracked windshield, helping you understand the necessary steps and materials needed. Whether you're dealing with a small chip or a larger crack, these DIY solutions can empower you to take control of your vehicle maintenance.

The Best 2 DIY Windshield Replacement Methods
When it comes to DIY windshield replacement, there are two popular methods that can effectively address cracks and chips. The first involves using a windshield repair kit, which is ideal for minor damage. The second method is for those who need to replace the entire windshield, requiring careful removal and installation. Let's delve into these methods to find out which one suits your needs best.
Using a Windshield Repair Kit
If you have a small chip or crack in your windshield, using a windshield repair kit can be an effective and cost-efficient solution. These kits are widely available at auto parts stores or online and are designed to help you fix minor damage without needing a full replacement.
Step 1: Gather Your Materials
Before you begin, ensure you have the following items:
- Windshield repair kit (includes resin, injector, and curing strips)
- Clean cloths
- Glass cleaner
- Razor blade or utility knife
- Safety goggles
Step 2: Prepare the Area
Start by cleaning the damaged area thoroughly. Use a glass cleaner and a clean cloth to remove any dirt, grime, or debris. This step is crucial, as any contaminants can interfere with the resin's bonding process. Make sure the area is completely dry before proceeding.
Step 3: Assess the Damage
Check the size and type of the damage. Most repair kits are effective for chips smaller than a quarter and cracks that are less than six inches long. If the damage is larger, a full windshield replacement may be necessary.
Step 4: Apply the Injector
Follow the instructions provided with your repair kit. Typically, you will need to attach the injector to the damaged area. Place it over the chip or crack, ensuring a tight seal. This injector will be used to apply the resin into the damaged area.
Step 5: Inject the Resin
Once the injector is in place, fill it with the resin included in the kit. Slowly press the injector to release the resin into the crack or chip. This process may take a few minutes, so be patient. Ensure that the resin fills the entire damaged area completely.
Step 6: Let It Cure
After injecting the resin, you will usually need to let it cure for a specified amount of time. Most kits come with curing strips that you place over the resin to help it harden. Follow the manufacturer’s instructions regarding curing time, which can range from 30 minutes to a few hours, depending on the kit.
Step 7: Clean Up
Once the resin has cured, remove the injector and any curing strips. Use a razor blade to carefully scrape away any excess resin from the surface of the windshield. Be cautious not to scratch the glass. Finally, clean the area with glass cleaner to restore clarity.
Step 8: Inspect Your Work
After completing the repair, inspect the area closely. While the repair may not be completely invisible, it should significantly reduce the appearance of the chip or crack and restore the structural integrity of the windshield.
Full Windshield Replacement
If the damage to your windshield is extensive, a full replacement may be necessary. This method requires more time and effort, but it can restore your vehicle’s safety and aesthetics.
Step 1: Gather Your Materials
Before beginning, you will need:
- Replacement windshield (ensure it matches your vehicle's specifications)
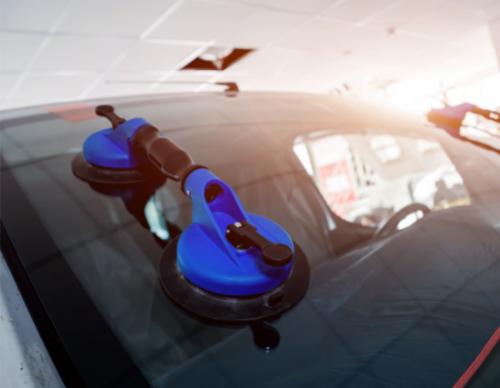
- Windshield removal tool or a utility knife
- Adhesive (auto glass adhesive)
- Trim clips (if applicable)
- Clean rags
- Safety goggles and gloves
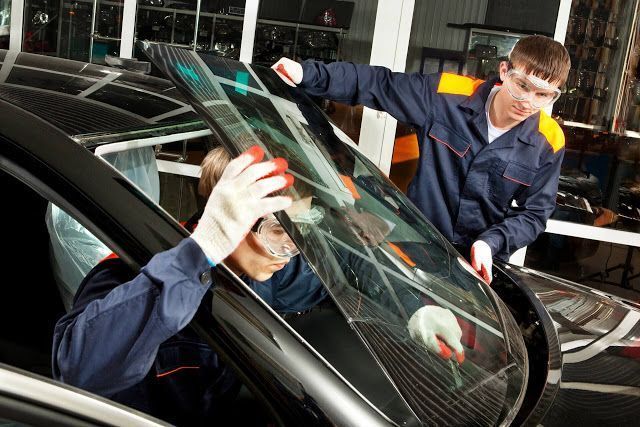
Step 2: Remove the Old Windshield
Start by removing any trim or molding around the windshield. Carefully use a pry tool to avoid damaging the surrounding areas. Next, use the windshield removal tool or utility knife to cut through the adhesive holding the windshield in place. Work your way around the entire perimeter, applying steady pressure.
Step 3: Take Out the Windshield
Once the adhesive has been cut, carefully lift the old windshield out of the frame. You may need an extra set of hands for this step, as windshields can be heavy and awkward to maneuver. Set the old windshield aside, taking care not to break it further.
Step 4: Clean the Frame
With the old windshield removed, inspect the frame for any leftover adhesive or debris. Use a clean cloth to wipe down the area thoroughly. This step is crucial for ensuring a good bond with the new windshield.
Step 5: Apply New Adhesive
Once the frame is clean and dry, apply a continuous bead of auto glass adhesive along the perimeter where the new windshield will sit. Follow the manufacturer’s instructions regarding the type and amount of adhesive to use.
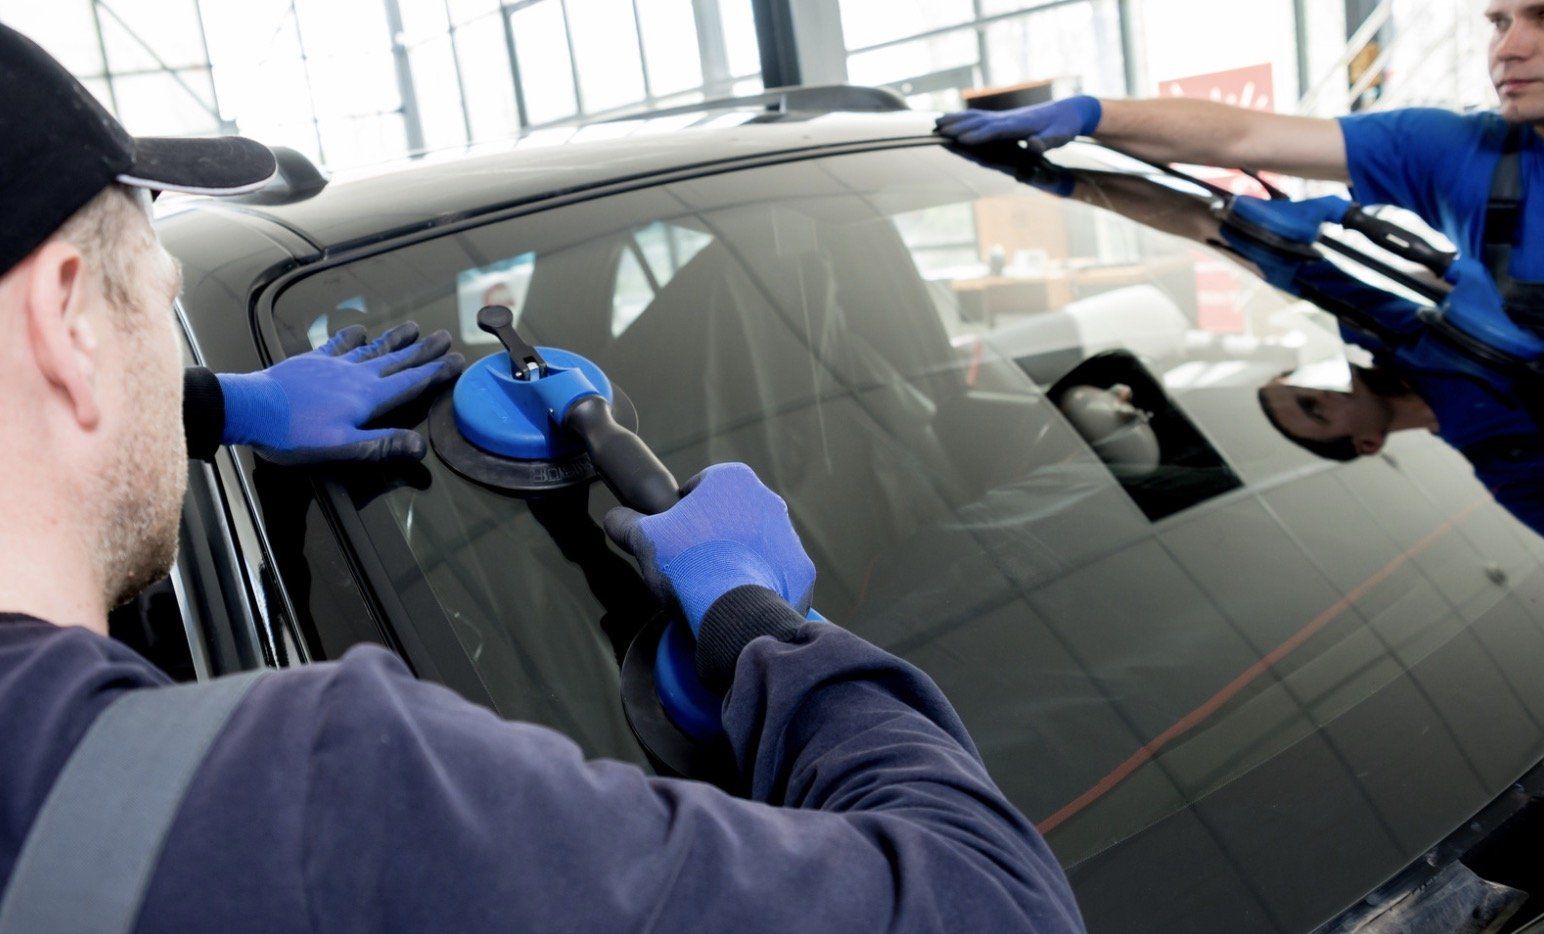
Step 6: Install the New Windshield
Carefully position the new windshield over the adhesive. Make sure it aligns properly with the frame and press down firmly to create a seal. You may need to adjust it slightly to ensure a perfect fit.
Step 7: Secure the Windshield
After positioning the windshield, you may need to use trim clips to secure it in place temporarily. This step helps the adhesive set properly and prevents the windshield from shifting during the curing process.
Step 8: Allow the Adhesive to Cure
Refer to the adhesive manufacturer’s instructions for curing time. This period can range from a few hours to a full day. During this time, avoid driving the vehicle to ensure the windshield adheres securely.
Step 9: Reinstall Trim and Clean Up
Once the adhesive has cured, reinstall any trim or molding around the windshield. Finally, clean the new glass with a glass cleaner to remove any fingerprints or smudges, ensuring clear visibility.
Conclusion
Replacing a cracked windshield can seem daunting, but with the right methods, it’s a task that many car owners can successfully complete. Whether you choose to use a windshield repair kit for minor chips or opt for a full replacement for more extensive damage, understanding each step is crucial for achieving a satisfactory result. DIY solutions not only save you money but also give you a sense of accomplishment in taking care of your vehicle.
However, it's important to recognize your limits. If you encounter challenges or feel uncertain at any point in the process, seeking professional help is a wise decision. A well-installed windshield is vital for your safety and the integrity of your vehicle. Always prioritize quality and ensure that the job is done right, as this will ultimately protect you and your passengers on the road.
About Wollongong AutoGlass
Wollongong AutoGlass is a trusted provider of auto glass services in the region, specializing in windshield repairs and replacements. With a focus on customer satisfaction and quality workmanship, our experienced technicians ensure that every job is completed to the highest standards. We offer fast and reliable service, utilizing top-grade materials to restore your vehicle’s safety and appearance. Choose Wollongong AutoGlass for professional and efficient auto glass solutions you can rely on.


Give us a call today!
To have your perfect windscreen for your cars.
Service Areas:
Windscreen Replacement & Repair Woonona
Windscreen Replacement & Repair Bellambi
Windscreen Replacement & Repair Corrimal
Windscreen Replacement & Repair Fernhill
Windscreen Replacement & Repair Coniston
Windscreen Replacement & Repair Cleveland
Windscreen Replacement & Repair Cringila
Leading windscreen and glass tint specialist in Wollongong NSW
LIST OF SERVICES
CONTACT INFORMATION
0242 026 327
Gwynneville, 16 Hoskins St, 2500, NSW, Australia
WE'RE AVAILABLE
- Mon - Sun
- Open 24 Hours